Yeeey! Now it's Tuesday again and this time it's really fun at Alchemy Thursday! Challenge Anything goes and Tutorial Blog Hop at the same time! Is not that fun?! You can join the Blog Hop, or Tutorial challenge, or take both simultaneously!
TIPS & TUTORIALS BLOG HOP
To join the Blog Hop, you simply visit each blog in the list. Make sure to follow the list provided, so you don't get lost during your journey. It will be posted on every blog, too.
To win any of the prizes from TA's sponsors & the DT, you must:
- Comment on every blog in the hop.
- Become a follower of every blog in the hop.
When you are ready to hop, just click on your next stop & you will be on your way :)
Maria - You Are Here
Laine - Your Next Stop
One winner will be randomly picked to win BOTH prizes from our sponsors!
DT members are offering prizes for the blog hop, too!
Each DT member will pick their own winner.
Here is my prize to be given to one random winner.The winner will be drawn June 22.

Challenge #18: Anything Goes
- Create a new project. No back links.
- Share this project on your blog AND include a link back to Tuesday Alchemy.
- Post a direct link to your project on your blog (NOT your general blog addy) using Inlinkz.
- Enter as many times as you want & can be shared with any other challenges.
Additional entries: If you include a tip or tutorial in your project post, you will receive an extra entry into the challenge. Please put "TIP" after your name, so we know to give you an extra entry.
And here's my tutorial on Peep hole card
- Cutting tool/knife
- Spellbinders Nestabilities in three coordinating sizes
- Epic Six or another cutting machine
- Pencil
- Removable tape
- Embellishments
- Cardstock: 6 x 12" for the card base
- 7,25x 7,25" (3x) for layering,optional: leftovers for decorating (punchouts etc.) - distress all the edges if you like
- Design paper: 5,6 x 5,6" (3x) for layering, optional: leftovers for decorating (punchouts etc.)
- distress all the edges if you like

How I did it:
I cut a piece of cardstock measuring 6 x 12 " and fold it at 6".
Select the image you want. Decide on the location to place the image inside your card. You can have a smaller image and choose to place the asymmetrical.

If I´m satisfied, I put the smallest one of the dies on top of the image (at the front part of the card) and choose the section which is going to be seen through the window of thefinished card. After pulling the image away from beneath it I fix the die with some removable tape and punch out the aperture at the front part of the card.

I´m going to put a layer of two different design paper to my lilac card base, of course these have to get some windows as well. I just don`t want them all the same size, but each a bit bigger, to achieve a nice layered effect.

So I use a larger Spellbinders dies on the next layers of designer paper.

Marks with pencil the third layer and cut out the opening with the last Spellbinders dies.

Here are my three parts.
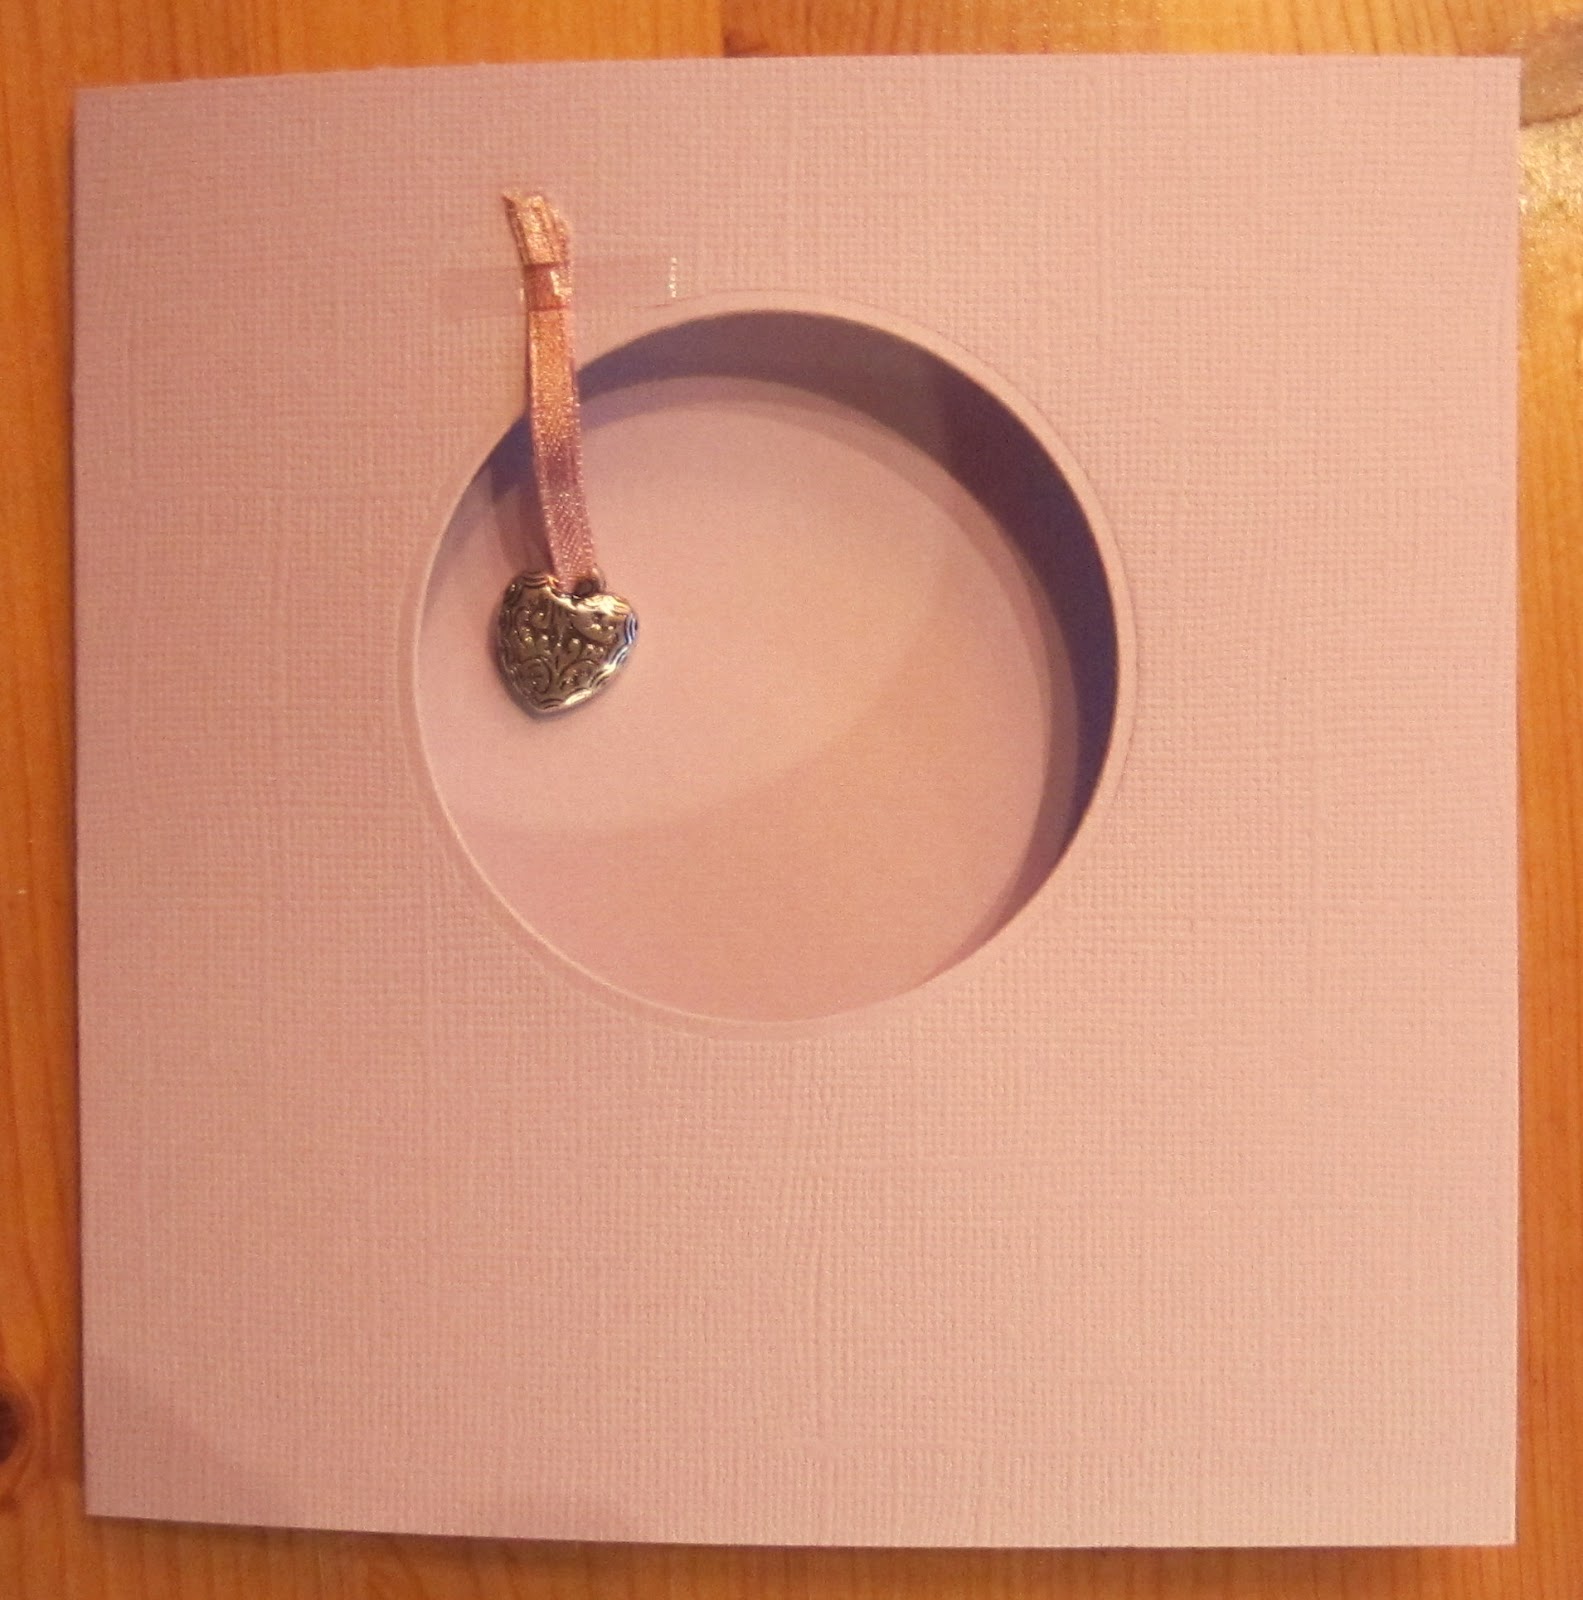
If you`d like a little charm dangling in the window, now - before glueing all layers together - would be the right moment to insert it.

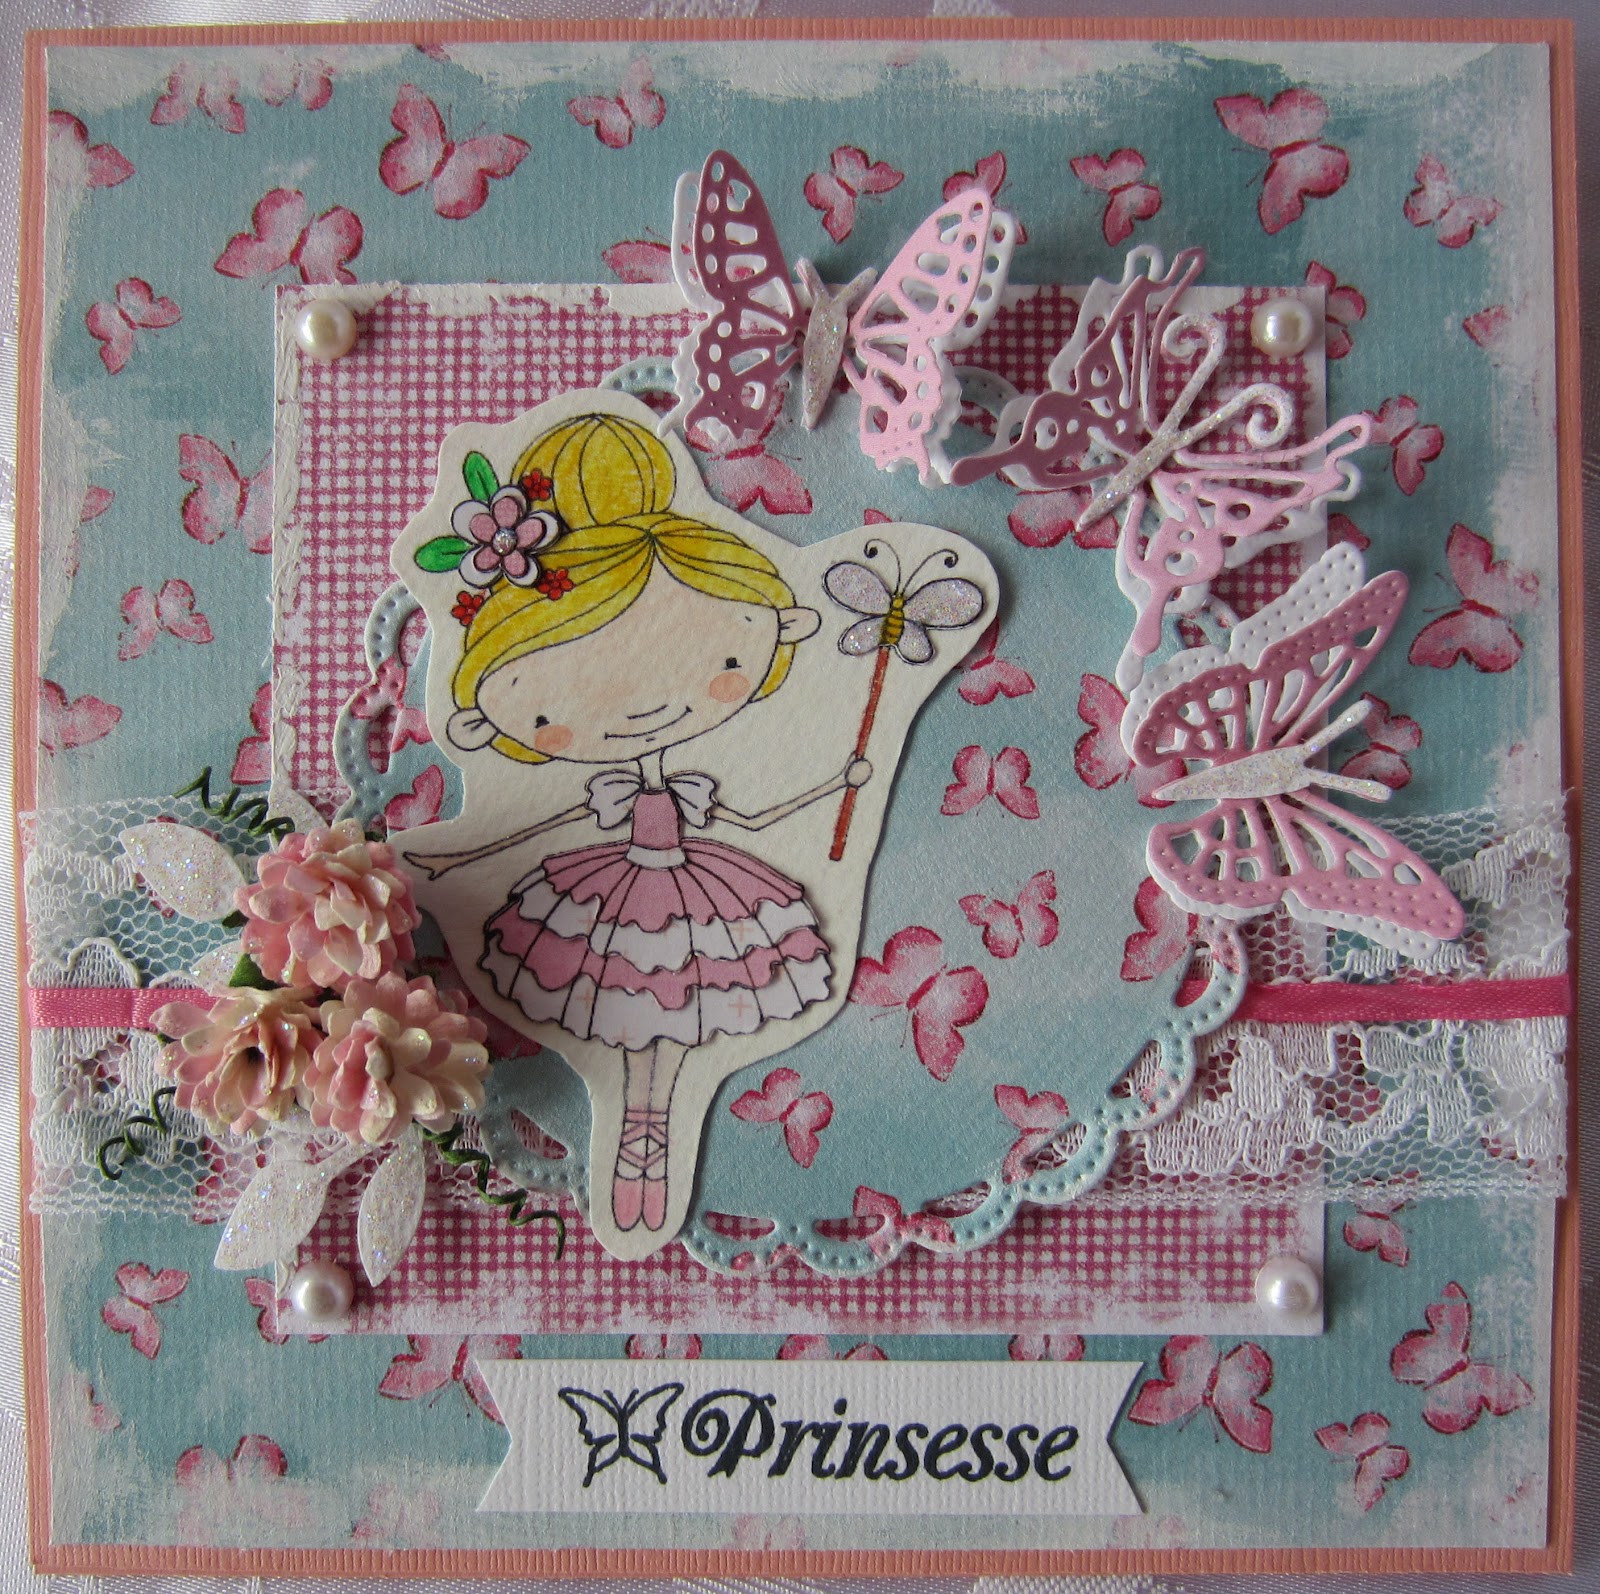
Here is my card ready. All layers are glued together and the front is embellished.

Here is the inside of the card.

A small tag located below the image.
Have a nice and creative week!